Make Your Own Titanic - 1998

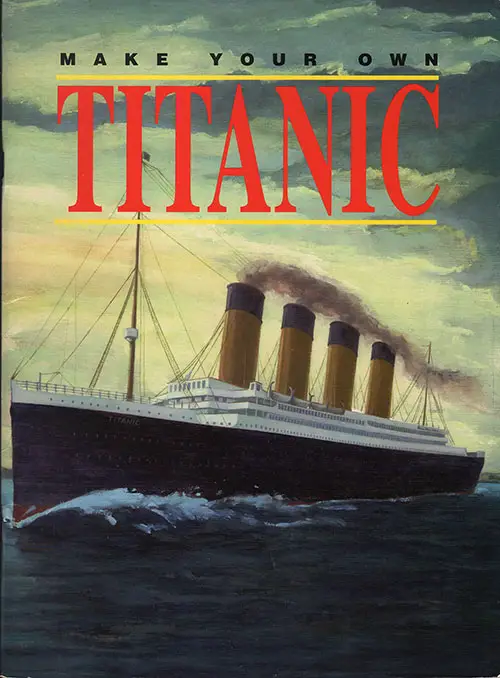
Front Cover: Make Your Own Titanic - 1998. | GGA Image ID # 1021abd61e
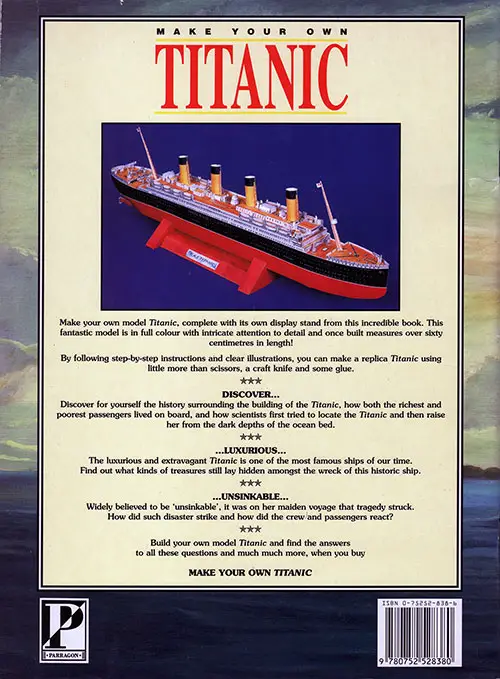
Make your own model Tifanic, complete with its own display stand from this Incredible book. This fantastic model is in full color with intricate attention to detail and once built measures over sixty centimeters in length!
By following step-by-step instructions and clear Illustrations, you can make a replica Titanic using little more than scissors, a craft knife and some glue.
From the Back Cover

Back Cover: Make Your Own Titanic - 1998. | GGA Image ID # 1021ca9f87
DISCOVER...
Discover for yourself the history surrounding the building of the 71tanic, how both the richest and poorest passengers lived on board, and how scientists first tried to locate the Titanic and then raise her from the dark depths of the ocean bed.
...LUXURIOUS...
The luxurious and extravagant Titanic is one of the most famous ships of our time. Find out what kinds of treasures still lay hidden amongst the wreck of this historic ship.
...UNSINKABLE...
Widely believed to be 'unsinkable’. It was on her maiden voyage that tragedy struck. How did such disaster strike and how did the crew and passengers react?
Build your own model Titanic and find the answers to all these questions and much much more, when you buy MAKE YOUR OWN TITANIC.
Making Your Titanic
Before You Start
You will need a sharp craft knife, and small pair of scissors and a ballpoint pen that has run out of ink. Stick the pieces together using contact adhesive (the sort that you spread onto each surface and leave to dry for a few moments before pressing the parts together).
Use a plastic cutting board or a thick sheet of cardboard to protect the surface you are working on. Work in a well-lit area where you can leave your model parts without them being damaged.
Remove the model pages from the book before cutting out the pieces. Read the instructions and look at the drawings to ensure you understand the assembly stages before starting to cut the parts. If you are not sure go back over the instructions.
Only cut the parts out as you need them. Cut along the solid black lines, pressing just enough to cut through the card. Cut slowly and carefully - mind your fingers!
Crease the dotted lines to fold the flaps. Gently run the ballpoint pen along the dotted line to make a mark, then go over it again to make a deeper crease. Try this on a piece of scrap card first to see how it works.
Do not apply glue straight from the tube. Use a strip of thick card as a narrow brush to spread the glue exactly where it is needed on the tab areas. Use these areas to position the parts.
Line up the parts before pressing them into place. Take your time, don’t rush, and check every step first.
Publishing Information
- Publisher: Parragon Publishing; 1st ed. edition (1998)
- Author: Sally Lindley
- ISBN-10: 0752528386
- ISBN-13: 978-0752528380
- Dimensions: 12.4 x 9.1 x 0.3 inches
